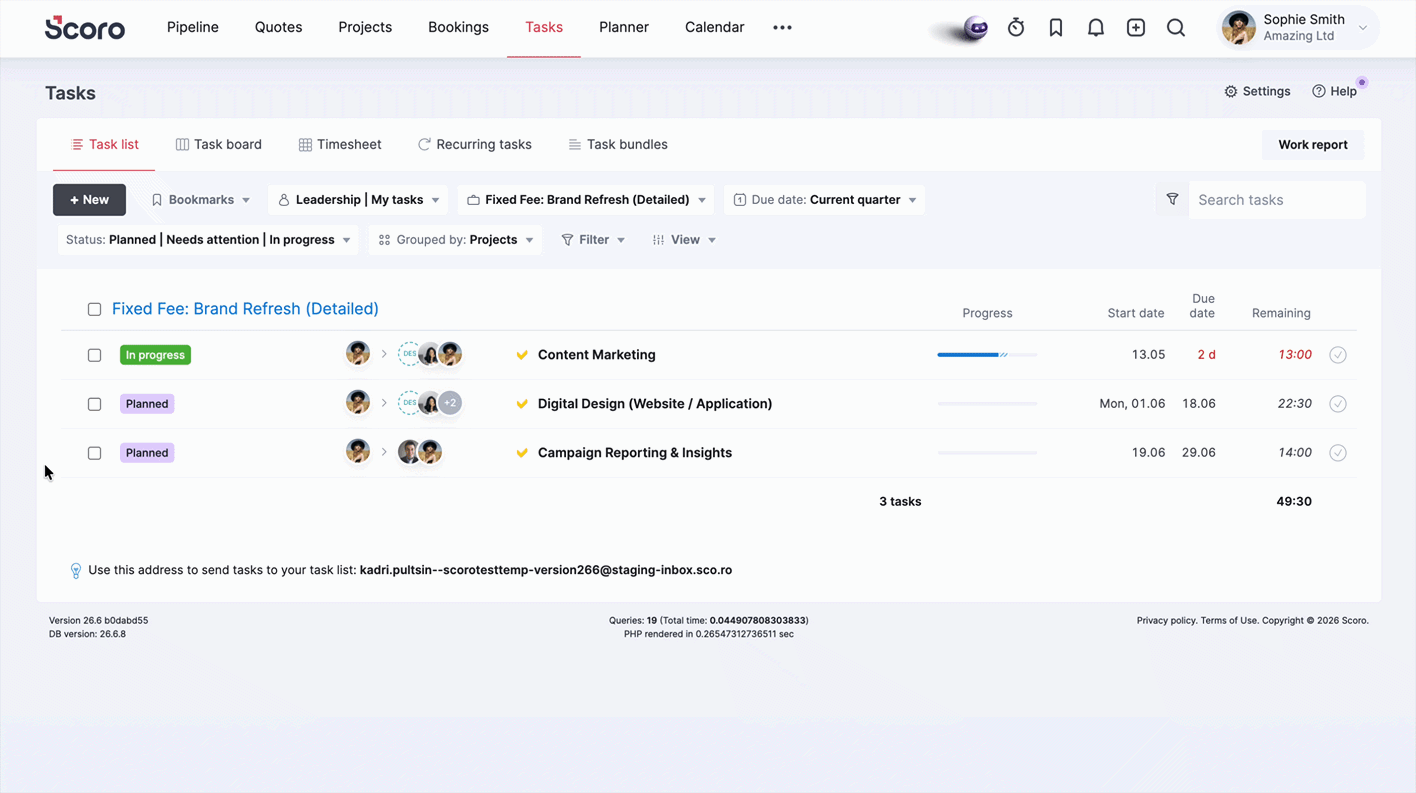
This article walks you through what tasks are visible in the task list, how to customize your list view, and how to manage your tasks straight from the task list.
Jump to...
1. How are parent tasks and subtasks shown in the task list?
If your site uses subtasks, make sure to enable the Parent | Subtasks data column in the task list to make it easier to distinguish parent tasks from subtasks:
- Parent tasks display the number of subtasks under them.
- Subtasks display the parent task's name.
Click on the number or the parent task's name shown in the Parent | Subtasks data column to open the relevant parent task's detailed view.
For regular tasks, the Parent | Subtasks column will be empty.
You can use the Task type filter to show only parent tasks, subtasks, or both.
The Planned, Scheduled, Remaining, and Done data columns include only data for the respective task, regardless of whether it's a parent task or a subtask. This means that if time spent working is logged only on the subtasks and not the parent task, the parent task will display zero under these columns.
2. Customizing your task list view
To customize your task list view and manage your tasks efficiently, use different filters, viewing, and grouping options.
Pro tip! Save your preferred task list view as your default view or add it as a bookmark for quicker access in the future!
2.1. Filtering the data
By default, the task list shows your tasks, but you can also click the Filter button to filter the list view as needed.
User and Role filters
To see tasks assigned to specific users and roles, use the User filter (highlighted in red) and the Role filter (highlighted in blue).
If role assignment is enabled on your site, the User filter will include two tabs – Users and Roles – for filtering the task list by the assigned user(s) or role(s).
Here's how to use the User and Role filters to filter out the correct tasks based on what you're looking for:
- To see all unassigned tasks, including tasks assigned to role placeholders:
- In the User filter, select 'Unassigned'
- In the Role filter, select all roles
- To see all tasks assigned to a specific role:
- In the User filter, select 'Unassigned'
- In the Role filter, select the necessary role
- To see all tasks assigned to a specific role and users with that same role:
- In the User filter, select all options
- In the Role filter, select the necessary role
Done filter
You can filter the task list by completion status:
- Filtering out Done tasks will show all the completed tasks (tasks marked as done) during the selected period
- Filtering out Done and not done tasks will show all tasks
- Filtering out Not done tasks will show only tasks that are not completed yet (not marked as done)
However, if you've selected Not done tasks and additionally specified a certain time frame in the Tasks with time entries from filter:
- Tasks that aren't marked as done with at least one time entry not marked as done will appear in the filtered task list view.
- Tasks that aren't marked as done but have all time entries marked as done will not appear in this filtered list view.
2.2. Grouping the data
For a more organized overview of tasks, use the Grouped by filter to group the task list by projects, clients, priorities, activity types, or other parameters.
When grouping the task list by projects, it will be organized by project. However, depending on how you've filtered the task list and if there are relevant tasks, there can also be the following sections at the top of the task list:
- Unspecified – tasks that are assigned to the filtered user(s) but not linked to a specific project
- Assigned to me – if you're viewing your own task list, this section displays tasks assigned to you that you haven't accepted yet
If your site uses subtasks, you can group the task list by parent tasks. When grouped by parent tasks:
- The task list will display the Parent tasks section with all the parent tasks.
- All subsequent sections are named after each parent task and display all the subtasks under that parent.
- Showing subtasks under their parent in the task list is not possible at the moment.
2.3. View options and sorting
Click the View button to customize how your task list looks and what data is displayed:
- To sort the task list, click Sort by and select the parameter to sort the tasks by.
- To customize the data columns shown in the task list, click on the Data columns button and select the types of data you would like to display or hide.
- To add a summary bar with key task-related metrics at the top of the task list, click the Summary bar button and select the necessary metrics. You can also drag and drop them to change their order in the summary bar, and enable the Round numbers checkbox if you prefer round numbers.
To hide the summary bar, simply disable all metrics. - Click the View options button and use the following settings to customize the level of detail of each task displayed in the task list:
- Show task details – enable this checkbox to display each task's description.
- Show time entries – enable this checkbox to display the planned (not marked as Done) time entries under each task. These time entries are nested under their task, and you'll recognize them by the timer icon next to them.
- Show delegated – enable this checkbox to add a Delegated tasks section at the end of your task list, showing all the tasks you're responsible for but delegated to other users. If you're viewing someone else's task list, this section will display the tasks that person has delegated to others.
- Show summary in the sidebar – enable this checkbox to show a brief summary of the filtered view on the right sidebar
-
Show calendar in sidebar – enable this checkbox to show your calendar events on the right sidebar. You can also click the plus icon in the sidebar to add a new event.
3. Viewing tasks
Use the search bar to look up tasks by keywords.
To preview a task in the task list, hover the cursor over the task icon.
To open a task's detailed view, click on the task name.
4. Managing tasks from the task list
To modify any details of your task, click the icon next to the task name to open the task modify view, where you can make the necessary changes, just like when adding a task.
However, you can also take various actions directly in the task list.
4.1. Reordering tasks in the task list
You can reorder tasks by dragging them with the cursor. This way, all tasks are organized according to urgency, for example.
4.2. Assigning a task
The task rows include avatars of the assigned users or roles (if your site uses role assignment). Unassigned tasks have the Unassigned icon.
To assign or reassign a task to a user or role (if your site uses role assignment):
- Click on the user or role avatar (if the task is assigned to a user or role) or on the Unassigned icon.
- Select the necessary user(s) or role(s) to assign to the task and click Assign.
The delegated tasks (tasks that someone assigned to you) will appear under the Assigned to me section on your task list. These tasks will have a question mark indicating that they have been assigned and need to be accepted.
If the assignee does not accept the task delegated to them, it will remain on their task list until it's marked as Done or reassigned to someone else.
The responsible users will see the tasks they delegated to other team members in their task list until they're completed or deleted (of which the responsible user will be notified).
4.3. Adding a time entry
To add a time entry from the task list:
- Click the grey time entry icon on the left of the task name.
- Select either Add time entry or Start time tracker.
4.4. Marking a task as done
To mark a task as done from the task list, click the checkmark icon on the right side of the task row, set the date when to mark it as done, specify the time spent, and click Done.
Alternatively, simply double-click the checkmark icon to mark it as done right away with today's date.
4.5. Bulk actions
If you select more than one task in the task list, an additional options bar will appear, letting you take various bulk actions, such as:
-
Assign the selected tasks to a user: Click the Assign to user dropdown, select the required user, and confirm your choice.
- If role assignment is enabled on your site and either of the selected tasks is assigned to roles, Scoro will automatically replace the matching assigned roles with the selected user or add them as additional assignees if no role match is found. Other assignees remain on the task.
- If role assignment is enabled on your site and either of the selected tasks is assigned to roles, Scoro will automatically replace the matching assigned roles with the selected user or add them as additional assignees if no role match is found. Other assignees remain on the task.
- Link the tasks with a project: Click the Link with project dropdown field, select the necessary project, and confirm your choice. Additionally, if the selected project has phases, you can use the Select phase dropdown field if you want to place the selected tasks under a specific phase.
- Assign an activity type: Click the Assign activity dropdown field, select the necessary activity type, and confirm your choice.
- Set the task priority: Click the Assign priority dropdown field, select the necessary priority, and confirm your choice.
- Change the tasks' status: Click the Status field, select the correct status, and confirm your choice.
- Modify or reset the tasks' due dates: Click the Assign due date, Move due date, or Reset due date buttons accordingly.
- Delete tasks: Click the Delete button and confirm your choice. Note that you cannot delete parent tasks with subtasks.
- Convert subtasks to parent tasks: See this article for a detailed walkthrough.
- Export tasks: See this section for a more detailed walkthrough.
4.6. Managing task dependencies
To manage task dependencies from the task list:
- Make sure the Dependencies data column is enabled on your task list.
- Click the Predecessors or Successors button.
- Select the correct task from the Add predecessor or Add successor dropdown field.
If this task already has any predecessors or successors, they’re shown below the dropdown. Hover over the relevant task and click on the pencil icon to modify the task dependency or on the x to remove it. - After selecting the task, you can choose the type of dependency and a buffer time between the tasks.
For more guidance on the dependency types and buffer time, see our Gantt chart article.
5. Exporting tasks
You can also export a list of tasks in a CSV or XLS file format from the task list:
- Filter your task list to show the tasks you want to export.
- Select the tasks you want to export by ticking the checkboxes on the left side. An additional options bar will appear.
- Click the Export button.
- Select your preferred file format and click Export.